Download the sources at
http://romain.vergne.free.fr/teaching/IS/data04/TP04.tgz
If needed, edit the file main.pro to change paths
To compile: qmake && make
To run: ./tp04 models/file.off
To edit: use either your prefered text editor or qtcreator
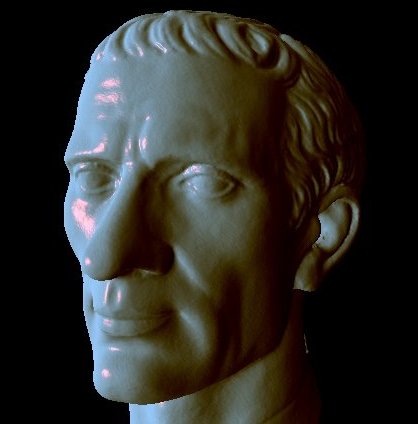
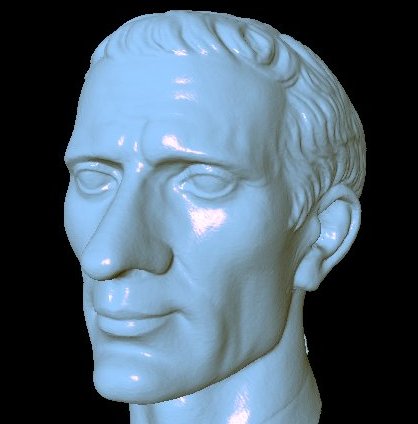
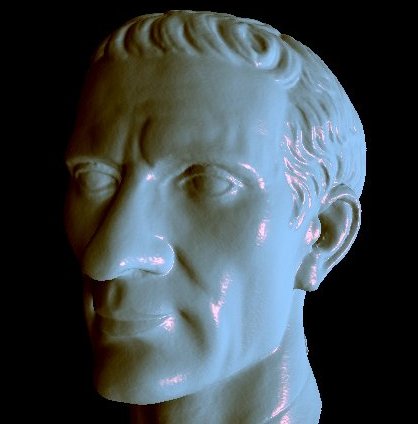
Local Lighting
The goal of these exercises is to familiarize yourself with local lighting
effects. You should obtain something
like this:
Exercice 1: Understand the code
The source code contains the same files/classes as before
meshLoader
camera
shader
By default, the program loads a mesh and uses a simple shader to display it.
Output colors are normals in camera space.
The mesh is sent to the graphics card using vertex arrays objects, like in
the previous assignment.
Have a look at the files viewer.* and shaders/constant.*
You should now have an idea of the effect of each function in theses files.
Exercice 2: Prepare a new shader
Create new shader files called
gouraud1.vert et gouraud1.frag
you
can simply copy/rename/paste the constant.vert and frag files
Add them in the shader vectors
(function createShaders)
Note: Pressing the space bar has the effect of activating the next
shader in the shader list
Send a light direction to your shader
(function enableShader - constant for the whole mesh)
Note: the variable _light contains a light direction updated when
the right mouse button is pressed
Note: you will need to use glGetAttribLocation and glUniform, as for
matrices (except that you send a vector3D here)
Exercice 3: Gouraud Shading and lambertian model
Observe that 3 matrices are sent to the shaders:
The modelview matrix
The projection matrix
The normal matrix
This matrix allows to transform the normal from world space to view
space
Why not using the top left 3x3 submatrix of the modelview one?
normalView = vec3(mdv*vec4(normalWorld,0));
Uniform scaling:
no problem
Non-uniform
scaling:
The obtained normal does not correspond
anymore to the real surface
Solution: normal matrix = transpose(inverse(upperleft3x3(modelview
matrix)))
It avoids non-uniform scaling effects that can appear in the
modelview matrix
Apply a Gouraud shading (lighting per
vertex), using the lambertian model
Note:
the lambertian model is given by: \( \rho_d
\mathbf{n}\cdot\pmb{\ell}) \) where \( \rho_d \) is a surface color
(your choice in the shader)
Note: All these operations may be done in view space
Exercice 4: Gouraud Shading and Phong model
Add a new shader in the shader list
gouraud2.vert et gouraud2.frag
Modify the shaders to apply a Gouraud
shading using the Phong model
Note: the Phong model is given by:
\( \rho_a + \rho_{d} (\mathbf{n}\cdot\pmb{\ell}) + \rho_{s}
(\mathbf{r}\cdot\mathbf{e})^{ec} \), where
\( \rho_a \) is a surface ambient color (your choice)
\( \rho_d \) is a surface diffuse color (your choice)
\( \rho_s \) is a surface specular color (your choice)
\( ec \) is an exponent coeficient that controls the size and
sharpness of the highlights
Note: you can use the key 'r' to test and reload shaders when a
change is made
Exercice 5: Phong Shading and Phong model
Add a new shader in the shader list:
phong.vert et phong.frag
Apply a Phong shading to obtain a similar
result
Note: The lighting computation should now be done in the fragment
shader
Note:
The uniform light vector is also accessible in the fragment shader
Note: The eye and normal vectors should be renormalized when
received after rasterization
Exercice 6: Bonus
Add a new shader in the shader list:
toon.vert et toon.frag
Try to modify the Phong shading (per
fragment computation) to obtain a toon-shading effect
Note: you may use the step or smoosthstep function to produce strong
lighting variations
Play with shading: create your own
shading effect!